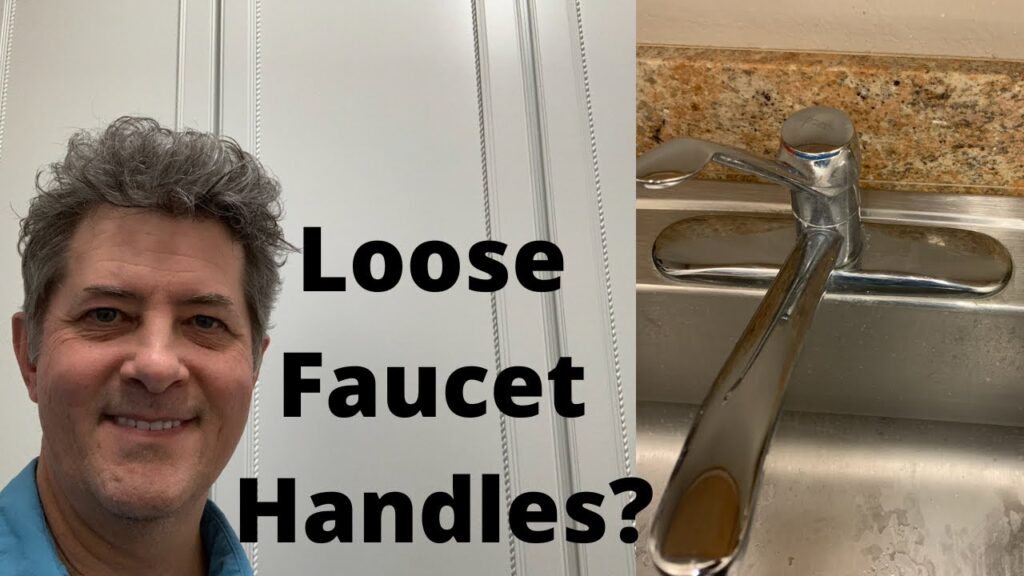
How to Fix a Loose Handle on Your Kitchen Faucet: A Step-by-Step Guide
A wobbly or loose handle on your kitchen faucet isn’t just an annoyance; it can also be a sign of underlying issues that, if left unaddressed, could lead to leaks and water waste. Fortunately, fixing a loose handle on a kitchen faucet is often a straightforward DIY project that can save you the cost of a plumber. This comprehensive guide provides a step-by-step approach to diagnosing and resolving the problem, ensuring your faucet is secure and functioning properly.
Understanding the Problem: Why is Your Faucet Handle Loose?
Before diving into the repair process, it’s crucial to understand why your faucet handle is loose in the first place. Common causes include:
- Loose Screws: Over time, the screws that secure the handle to the faucet stem can loosen due to vibration and regular use.
- Worn-out Washers or O-rings: These small rubber components provide a tight seal. As they age, they can deteriorate, causing the handle to become wobbly.
- Corroded or Damaged Faucet Stem: In some cases, the stem itself may be corroded or damaged, preventing the handle from fitting securely.
- Improper Installation: A handle that was not properly installed initially may become loose more quickly.
Tools and Materials You’ll Need
Before you start, gather the following tools and materials:
- Screwdrivers: Both Phillips head and flathead screwdrivers are often needed.
- Allen Wrench Set: Many faucets use Allen screws to secure the handle.
- Adjustable Wrench: For tightening or loosening nuts.
- Penetrating Oil: To help loosen stubborn screws or nuts.
- Replacement Washers and O-rings: Have a variety of sizes on hand.
- Plumber’s Grease: To lubricate parts and prevent future corrosion.
- Clean Rags or Paper Towels: For cleaning up spills.
- Flashlight: To help you see clearly in tight spaces.
Step-by-Step Guide to Fixing a Loose Faucet Handle
Step 1: Turn Off the Water Supply
The first and most crucial step is to turn off the water supply to the faucet. Locate the shut-off valves under the sink. There are typically two valves, one for hot water and one for cold water. Turn both valves clockwise until they are completely closed. If you can’t find shut-off valves under the sink, you may need to turn off the main water supply to your home.
Step 2: Protect the Sink
Place a towel or cloth in the sink to protect its surface from scratches and to catch any small parts that may fall during the repair process.
Step 3: Identify the Faucet Type
Different types of faucets have different handle attachment mechanisms. Common types include:
- Single-Handle Faucets: These faucets have one handle that controls both water temperature and flow. The handle is often secured with a set screw or a cap.
- Double-Handle Faucets: These faucets have separate handles for hot and cold water. Each handle is typically secured with a screw or a nut.
- Pull-Out Faucets: These faucets have a pull-out sprayer integrated into the spout. The handle attachment is similar to single-handle faucets.
Step 4: Locate and Loosen the Set Screw or Cap
Most faucets have a set screw or cap that covers the screw securing the handle. The location varies depending on the faucet type. For single-handle faucets, the set screw is often located on the side or front of the handle. For double-handle faucets, the screw is typically located on the top of the handle, concealed by a decorative cap. Use a small screwdriver or Allen wrench to loosen the set screw or pry off the cap.
Step 5: Remove the Handle
Once the set screw or cap is removed, you should be able to pull the handle off the faucet stem. If the handle is stuck, try gently wiggling it back and forth while pulling upwards. Avoid using excessive force, as this could damage the faucet stem.
Step 6: Inspect the Handle and Stem
Examine the handle and stem for any signs of damage or corrosion. Look for worn-out washers, O-rings, or cracked plastic components. If you find any damaged parts, replace them with new ones.
Step 7: Tighten the Screw or Nut
If the handle was loose due to a loose screw or nut, simply tighten it using a screwdriver or wrench. Be careful not to overtighten, as this could strip the threads or damage the faucet. Apply penetrating oil if the screw or nut is difficult to turn.
Step 8: Replace Worn-out Washers or O-rings
If the handle was loose due to worn-out washers or O-rings, remove the old ones and replace them with new ones. Apply a small amount of plumber’s grease to the new washers and O-rings to lubricate them and prevent future corrosion. Make sure you are using the correct size replacement. [See also: How to Choose the Right Faucet Washer]
Step 9: Reassemble the Faucet
Once you have tightened the screw or nut or replaced the washers or O-rings, reassemble the faucet. Place the handle back onto the stem, and tighten the set screw or replace the cap. Make sure the handle is securely attached and does not wobble.
Step 10: Test the Faucet
Turn the water supply back on and test the faucet. Check for leaks around the handle and spout. If you find any leaks, tighten the connections further or replace any damaged parts.
Troubleshooting Common Issues
Sometimes, fixing a loose handle on a kitchen faucet isn’t as straightforward as tightening a screw or replacing a washer. Here are some common issues you might encounter and how to troubleshoot them:
- Stripped Screws: If the screw is stripped, it won’t tighten properly. You can try using a larger screw or a screw with a different thread pattern. Alternatively, you can use a screw extractor tool to remove the stripped screw and replace it with a new one.
- Corroded Faucet Stem: If the faucet stem is corroded, it may be difficult to remove the handle. Apply penetrating oil to the stem and let it sit for a few minutes before attempting to remove the handle. If the stem is severely corroded, you may need to replace it.
- Leaking Faucet: If the faucet is leaking after you have fixed the loose handle, check the O-rings and washers. They may be worn out or damaged. Replace them with new ones. Also, check the faucet cartridge. A damaged cartridge can also cause leaks. [See also: Replacing a Faucet Cartridge]
Preventing Future Problems
To prevent your kitchen faucet handle from becoming loose again, consider these tips:
- Regularly Tighten Screws: Check the screws and nuts on your faucet handles periodically and tighten them as needed.
- Lubricate Moving Parts: Apply a small amount of plumber’s grease to the moving parts of the faucet, such as the stem and handle, to prevent corrosion and wear.
- Avoid Over-Tightening: Overtightening screws and nuts can damage the faucet and cause them to loosen more quickly.
- Use Quality Replacement Parts: When replacing washers, O-rings, or other parts, use high-quality replacements that are designed for your specific faucet model.
When to Call a Plumber
While fixing a loose handle on a kitchen faucet is often a DIY project, there are times when it’s best to call a plumber. If you are not comfortable working with plumbing, or if you encounter any of the following problems, contact a qualified plumber:
- You are unable to turn off the water supply.
- You are dealing with extensive corrosion or damage.
- You are unsure how to proceed with the repair.
- You are experiencing persistent leaks after attempting to fix the faucet.
Conclusion
Fixing a loose handle on your kitchen faucet is a manageable task with the right tools and knowledge. By following these steps, you can restore your faucet to its proper working condition and prevent further issues. Remember to prioritize safety and take your time to ensure a successful repair. Addressing a loose handle promptly can save water and prevent more costly repairs down the line. Don’t let that loose handle drive you crazy – tackle it today!
