How to Add Moz to Chrome: A Comprehensive Guide for SEO Professionals
In the ever-evolving landscape of Search Engine Optimization (SEO), having the right tools at your fingertips is crucial. One such tool is Moz, a suite of SEO resources that provides valuable insights into website performance, keyword rankings, and competitive analysis. Adding Moz to Chrome, specifically the MozBar extension, can significantly streamline your SEO workflow. This guide will walk you through the process of how to add Moz to Chrome, highlighting its benefits and offering tips for effective utilization.
Why Add Moz to Chrome?
The MozBar is a free Chrome extension developed by Moz that provides instant SEO metrics for any webpage you visit. By learning how to add Moz to Chrome, you gain access to a wealth of data directly within your browser. This includes:
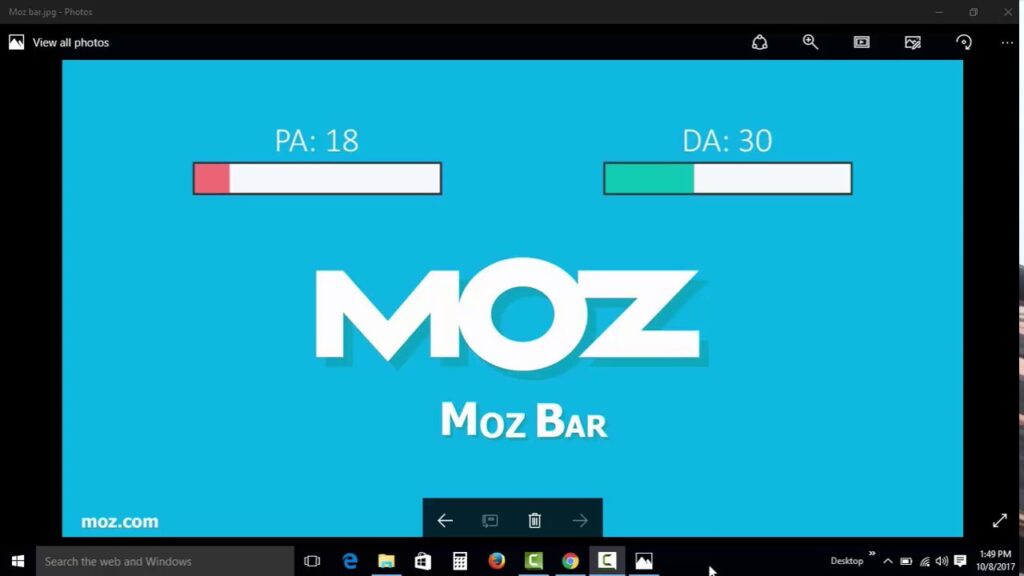
- Page Authority (PA): A score predicting how well a specific page will rank on search engine result pages (SERPs).
- Domain Authority (DA): A score predicting how well an entire domain will rank on SERPs.
- Spam Score: An assessment of the potential spamminess of a website.
- Link Metrics: Information about the number of inbound links to a page or domain.
- Keyword Highlighting: Easily identify keywords on a page.
- On-Page Analysis: Get a quick overview of on-page SEO elements.
Knowing how to add Moz to Chrome is essential for SEO professionals, marketers, and website owners who want to quickly assess the SEO health of any website and gain competitive insights. Using the MozBar saves time and effort compared to manually checking these metrics through other SEO tools.
Step-by-Step Guide: How to Add Moz to Chrome
The process of how to add Moz to Chrome is straightforward. Follow these steps to get started:
Step 1: Open the Chrome Web Store
First, open the Google Chrome browser. In the address bar, type “Chrome Web Store” and press Enter. Alternatively, you can directly navigate to the Chrome Web Store by typing “chrome.google.com/webstore” in the address bar.
Step 2: Search for MozBar
Once you’re in the Chrome Web Store, use the search bar located in the upper-left corner of the page. Type “MozBar” and press Enter. You should see the MozBar extension listed in the search results. Make sure the extension is offered by Moz, Inc.
Step 3: Add the MozBar Extension
Click on the MozBar extension in the search results. This will take you to the extension’s detail page. On this page, you’ll see a blue button that says “Add to Chrome.” Click this button to begin the installation process.
Step 4: Confirm the Installation
After clicking “Add to Chrome,” a pop-up window will appear asking for your confirmation to add the MozBar extension. This window will display the permissions that the extension requires. Review these permissions and click “Add extension” to proceed.
Step 5: Activation and Account Setup
Once the installation is complete, you’ll see a confirmation message indicating that the MozBar has been added to Chrome. You’ll also notice the MozBar icon (a blue “m”) in the Chrome toolbar. Click on the MozBar icon to activate the extension. You’ll be prompted to create a free Moz account or log in if you already have one. Creating a Moz account is necessary to access all the features of the MozBar.
Using the MozBar Effectively
Now that you know how to add Moz to Chrome, it’s essential to understand how to use it effectively. Here are some tips for maximizing the MozBar’s potential:
Analyzing Page and Domain Authority
One of the primary uses of the MozBar is to quickly assess the Page Authority (PA) and Domain Authority (DA) of a website. These metrics provide insights into the overall strength and ranking potential of a website. Higher PA and DA scores generally indicate a stronger website.
Evaluating Link Metrics
The MozBar provides valuable link metrics, including the number of linking domains and total links to a page or domain. Analyzing these metrics can help you understand the link profile of a website and identify potential link-building opportunities.
Identifying Keyword Opportunities
The MozBar can highlight keywords on a page, making it easier to identify the keywords that a website is targeting. This can be useful for competitor analysis and identifying potential keyword opportunities for your own website.
Performing On-Page Analysis
The MozBar offers a quick overview of on-page SEO elements, such as the title tag, meta description, and heading tags. This can help you identify areas for improvement and optimize your website for better search engine rankings. [See also: On-Page SEO Optimization Tips]
Competitive Analysis
Understanding how to add Moz to Chrome unlocks powerful competitive analysis capabilities. By using the MozBar on competitor websites, you can gain insights into their SEO strategies, identify their top keywords, and assess their link profiles. This information can help you develop a more effective SEO strategy for your own website.
Troubleshooting Common Issues
While the process of how to add Moz to Chrome is generally straightforward, you may encounter some common issues. Here are some troubleshooting tips:
- MozBar Not Showing Up: Ensure that the MozBar extension is enabled in Chrome’s extension settings. Go to chrome://extensions/ and make sure the MozBar is toggled on.
- Login Issues: Double-check your login credentials and ensure that you have a valid Moz account. If you’re still having trouble, try resetting your password.
- Data Not Loading: Sometimes, the MozBar may not load data correctly. Try clearing your browser cache and cookies, or restarting Chrome.
Moz Pro vs. MozBar: Understanding the Differences
While the MozBar is a free tool, Moz also offers a paid subscription called Moz Pro. Understanding the differences between the two can help you decide which option is right for you.
The MozBar provides basic SEO metrics and on-page analysis. Moz Pro, on the other hand, offers a more comprehensive suite of tools, including:
- Keyword Research: In-depth keyword research tools to identify high-potential keywords.
- Rank Tracking: Track your website’s keyword rankings over time.
- Site Crawl: Identify technical SEO issues on your website.
- Link Explorer: A powerful link analysis tool to discover link-building opportunities.
- On-Page Optimization: Advanced on-page optimization recommendations.
If you’re serious about SEO and need advanced tools and data, Moz Pro may be worth the investment. However, the MozBar is a great starting point for those who want to quickly assess SEO metrics and perform basic on-page analysis.
Alternatives to MozBar
While MozBar is a popular choice, other Chrome extensions offer similar SEO functionalities. Some notable alternatives include:
- Ahrefs SEO Toolbar: Provides similar SEO metrics and keyword analysis tools.
- SEMrush SEO Toolkit: Offers a comprehensive suite of SEO tools, including keyword research, rank tracking, and site audit.
- SEOquake: A free SEO toolbar that provides a wide range of SEO metrics.
Exploring these alternatives can help you find the tool that best suits your needs and preferences.
Conclusion
Knowing how to add Moz to Chrome is a valuable skill for anyone involved in SEO. The MozBar provides instant access to essential SEO metrics, making it easier to analyze websites, identify keyword opportunities, and perform competitive analysis. By following the steps outlined in this guide, you can quickly add Moz to Chrome and start leveraging its power to improve your SEO efforts. Whether you’re a seasoned SEO professional or just starting out, the MozBar is a tool that can significantly enhance your workflow and help you achieve better search engine rankings. Remember to utilize the MozBar effectively by analyzing Page Authority, Domain Authority, link metrics, and on-page elements. And don’t forget to explore other SEO tools and extensions to find the perfect combination for your needs. Mastering how to add Moz to Chrome is just the first step in your journey to SEO success.
