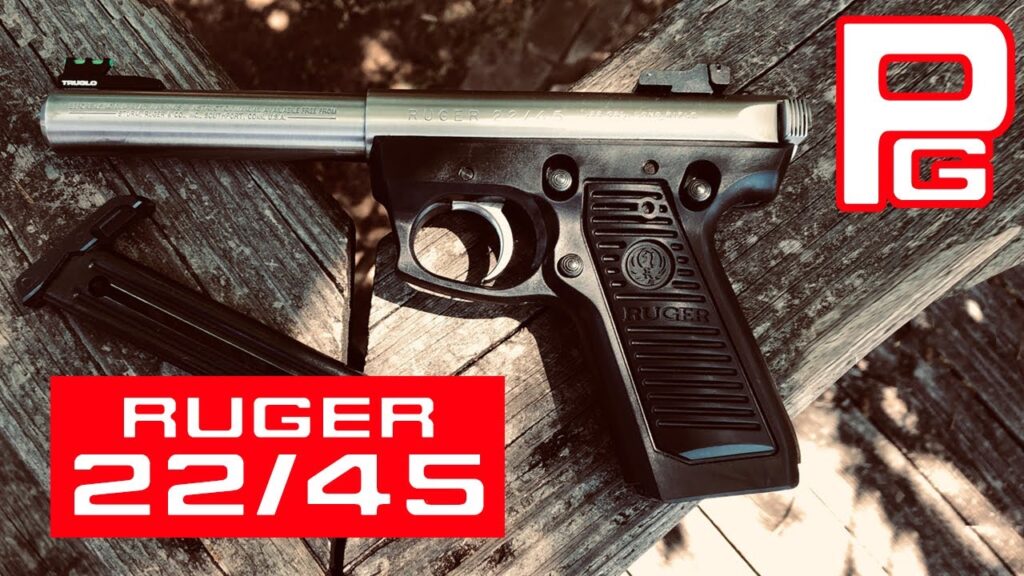
Ruger Mark II Disassembly: A Comprehensive Guide for Gun Owners
The Ruger Mark II is a classic .22 caliber pistol renowned for its accuracy, reliability, and robust design. Understanding how to perform a proper Ruger Mark II disassembly is crucial for cleaning, maintenance, and repairs. This comprehensive guide provides a step-by-step walkthrough of the Ruger Mark II disassembly process, ensuring you can safely and effectively maintain your firearm. Whether you’re a seasoned gun owner or a novice, mastering the Ruger Mark II disassembly procedure will enhance your shooting experience and prolong the life of your pistol. It’s important to always prioritize safety when handling firearms, and this guide emphasizes safe practices throughout the entire Ruger Mark II disassembly and reassembly process.
Safety First: Preparing for Disassembly
Before beginning any Ruger Mark II disassembly, safety is paramount. Always follow these crucial steps:
- Ensure the Firearm is Unloaded: Remove the magazine and visually inspect the chamber to confirm it is empty. Do this multiple times to be absolutely sure.
- Point the Muzzle in a Safe Direction: Keep the muzzle pointed away from yourself and others throughout the entire process.
- Wear Eye Protection: Protect your eyes from any potential flying parts.
- Work in a Clean, Well-Lit Area: This will help you keep track of all the components and prevent parts from getting lost.
- Consult the Owner’s Manual: Refer to your Ruger Mark II owner’s manual for specific instructions and warnings related to your model.
Following these safety precautions will minimize the risk of accidents during the Ruger Mark II disassembly and reassembly.
Tools Required for Ruger Mark II Disassembly
Having the right tools will make the Ruger Mark II disassembly process much smoother and easier. Here’s a list of essential tools:
- Screwdriver Set: A set of screwdrivers with various sizes of flathead and Phillips head bits.
- Punch Set: A set of punches for driving out pins. A nylon or brass punch is recommended to avoid damaging the finish.
- Hammer: A small hammer for tapping punches.
- Cleaning Mat: A mat to protect your work surface and prevent parts from rolling away.
- Gun Cleaning Solvent: For cleaning the various parts after disassembly.
- Gun Oil: For lubricating the parts after cleaning.
- Small Containers: To organize and store the small parts.
Having these tools readily available will streamline the Ruger Mark II disassembly and reassembly process.
Step-by-Step Ruger Mark II Disassembly Guide
This section provides a detailed, step-by-step guide to performing a Ruger Mark II disassembly. Follow these instructions carefully:
Step 1: Magazine Removal and Initial Inspection
As mentioned earlier, ensure the magazine is removed. Visually inspect the chamber multiple times. Pull the bolt back and lock it open. Double-check that no ammunition is present.
Step 2: Mainspring Housing Latch Disassembly
The mainspring housing latch is located at the rear of the frame. Pull down on the latch and swing it open. This will release the mainspring housing.
Step 3: Mainspring Housing Removal
With the latch open, carefully pull the mainspring housing down and out of the frame. Be mindful of the tension from the mainspring.
Step 4: Bolt Removal
Pull the bolt back slightly and lift it up and out of the receiver. It may require a bit of wiggling to remove it completely.
Step 5: Bolt Disassembly (Optional)
While not always necessary for basic cleaning, the bolt can be further disassembled. This involves removing the firing pin and extractor. Use caution, as these parts are small and can be easily lost. Consult your owner’s manual for specific instructions on bolt disassembly. This step is for advanced users familiar with Ruger Mark II disassembly.
Step 6: Cleaning and Inspection
With the major components disassembled, thoroughly clean each part with gun cleaning solvent. Use a brush to remove any carbon buildup or fouling. Inspect each part for wear or damage. Pay close attention to the firing pin, extractor, and recoil spring.
Reassembly: Putting It All Back Together
Reassembly is essentially the reverse of the disassembly process. Follow these steps carefully:
Step 1: Bolt Reassembly (If Disassembled)
If you disassembled the bolt, reassemble it according to your owner’s manual. Ensure the firing pin and extractor are properly seated and functioning correctly.
Step 2: Bolt Installation
Slide the bolt back into the receiver. Ensure it is properly aligned with the rails.
Step 3: Mainspring Housing Installation
Insert the mainspring housing back into the frame. Make sure it is fully seated.
Step 4: Mainspring Housing Latch Closure
Swing the mainspring housing latch back into its closed position. Ensure it locks securely.
Step 5: Function Check
Perform a function check to ensure the pistol is operating correctly. Cycle the bolt, dry fire the pistol (pointing in a safe direction), and verify the safety mechanism is functioning properly. If anything seems amiss, re-examine the Ruger Mark II disassembly and reassembly steps.
Troubleshooting Common Issues
Sometimes, during Ruger Mark II disassembly and reassembly, you might encounter some common issues. Here are a few troubleshooting tips:
- Difficulty Removing the Bolt: Ensure the mainspring housing is fully removed. Check for any obstructions in the receiver.
- Difficulty Closing the Mainspring Housing Latch: Ensure the mainspring housing is fully seated. Check for any debris obstructing the latch.
- Failure to Eject: This could be due to a dirty extractor or a weak extractor spring. Clean or replace the extractor and spring.
- Failure to Feed: This could be due to a dirty chamber, a damaged magazine, or a weak recoil spring. Clean the chamber, inspect the magazine, and replace the recoil spring if necessary.
If you encounter any issues you cannot resolve, consult a qualified gunsmith. [See also: Ruger Mark IV Disassembly Guide]
Maintenance Tips for Your Ruger Mark II
Regular maintenance is crucial for keeping your Ruger Mark II in top condition. Here are some essential maintenance tips:
- Clean Regularly: Clean your pistol after each shooting session to remove any fouling or debris.
- Lubricate Properly: Apply a light coat of gun oil to all moving parts to ensure smooth operation.
- Inspect Regularly: Inspect your pistol regularly for wear or damage. Replace any worn or damaged parts promptly.
- Store Properly: Store your pistol in a safe, dry place.
By following these maintenance tips, you can ensure your Ruger Mark II remains a reliable and accurate firearm for years to come. Understanding the Ruger Mark II disassembly process is a key part of proper maintenance. Remember, consistent care and attention will extend the life of your firearm.
Advanced Disassembly (For Experienced Users Only)
While the basic Ruger Mark II disassembly described above is sufficient for most cleaning and maintenance tasks, some experienced users may wish to perform a more detailed disassembly. This might involve removing the trigger, sear, or other internal components. However, this level of disassembly is not recommended for novice users, as it can be complex and may require specialized tools. If you are considering a more advanced disassembly, consult a qualified gunsmith or refer to a detailed gunsmithing guide specific to the Ruger Mark II.
Incorrect reassembly of these components can lead to malfunctions and potentially dangerous situations. Always prioritize safety and consult with a professional if you are unsure about any aspect of the disassembly or reassembly process. [See also: Ruger Mark II Trigger Adjustment]
Conclusion
Mastering the Ruger Mark II disassembly process is an essential skill for any Ruger Mark II owner. By following the steps outlined in this guide and prioritizing safety, you can confidently maintain your firearm and ensure its continued performance. Remember to always consult your owner’s manual and seek professional assistance if needed. Regular cleaning, lubrication, and inspection will keep your Ruger Mark II in top condition for years to come. Safe shooting!
